


There’s something timeless about a classic butter cookie recipe. With their rich buttery flavor, delicate crumb, and lightly crisp edges, these cookies have earned a place in everything from holiday cookie tins to everyday afternoon coffee breaks. They’re simple enough for beginner bakers yet elegant enough to share as homemade gifts or serve on special occasions.
What makes butter cookies so beloved is that they rely on a handful of everyday ingredients, allowing the butter to take center stage. When each ingredient is balanced correctly and a few key techniques are followed, the result is a cookie that’s tender without being crumbly, holds its shape beautifully, and practically melts in your mouth with every bite.
This recipe was developed to deliver exactly that balance. Whether you’re piping decorative swirls, scooping classic rounds, or planning a festive cookie platter, you’ll end up with cookies that bake evenly, maintain their shape, and stay delicious for days. Better yet, the dough is easy to prepare, making it an excellent choice for both first-time bakers and experienced home cooks looking for a dependable recipe they’ll return to again and again.
If homemade cookies are a favorite in your kitchen, don’t miss our Peanut Butter Chocolate Chip Cookies. They’re another beginner-friendly recipe made with simple pantry ingredients and a delicious addition to any homemade cookie collection.
Before you preheat the oven, let’s take a closer look at the tools, techniques, and baking principles that make these homemade butter cookies consistently successful.
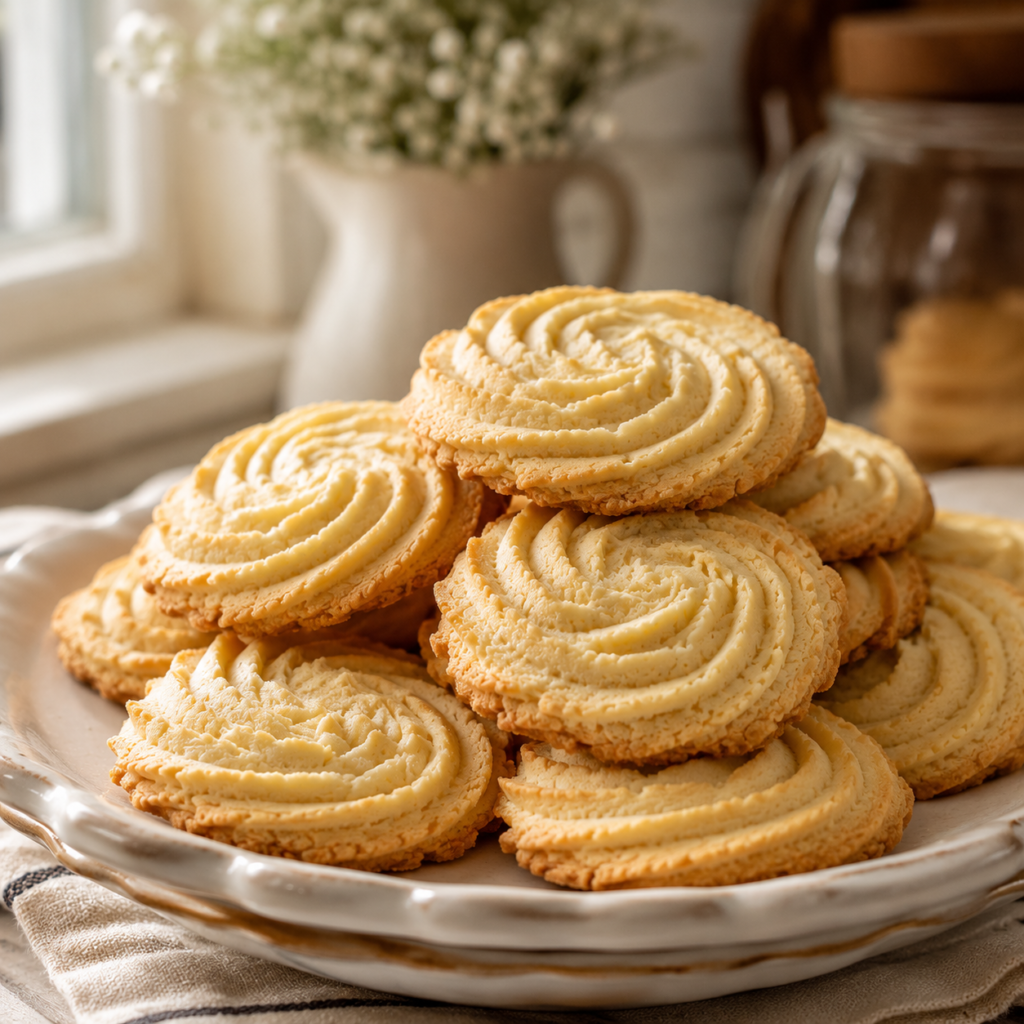
Table of Contents
Equipment You’ll Need
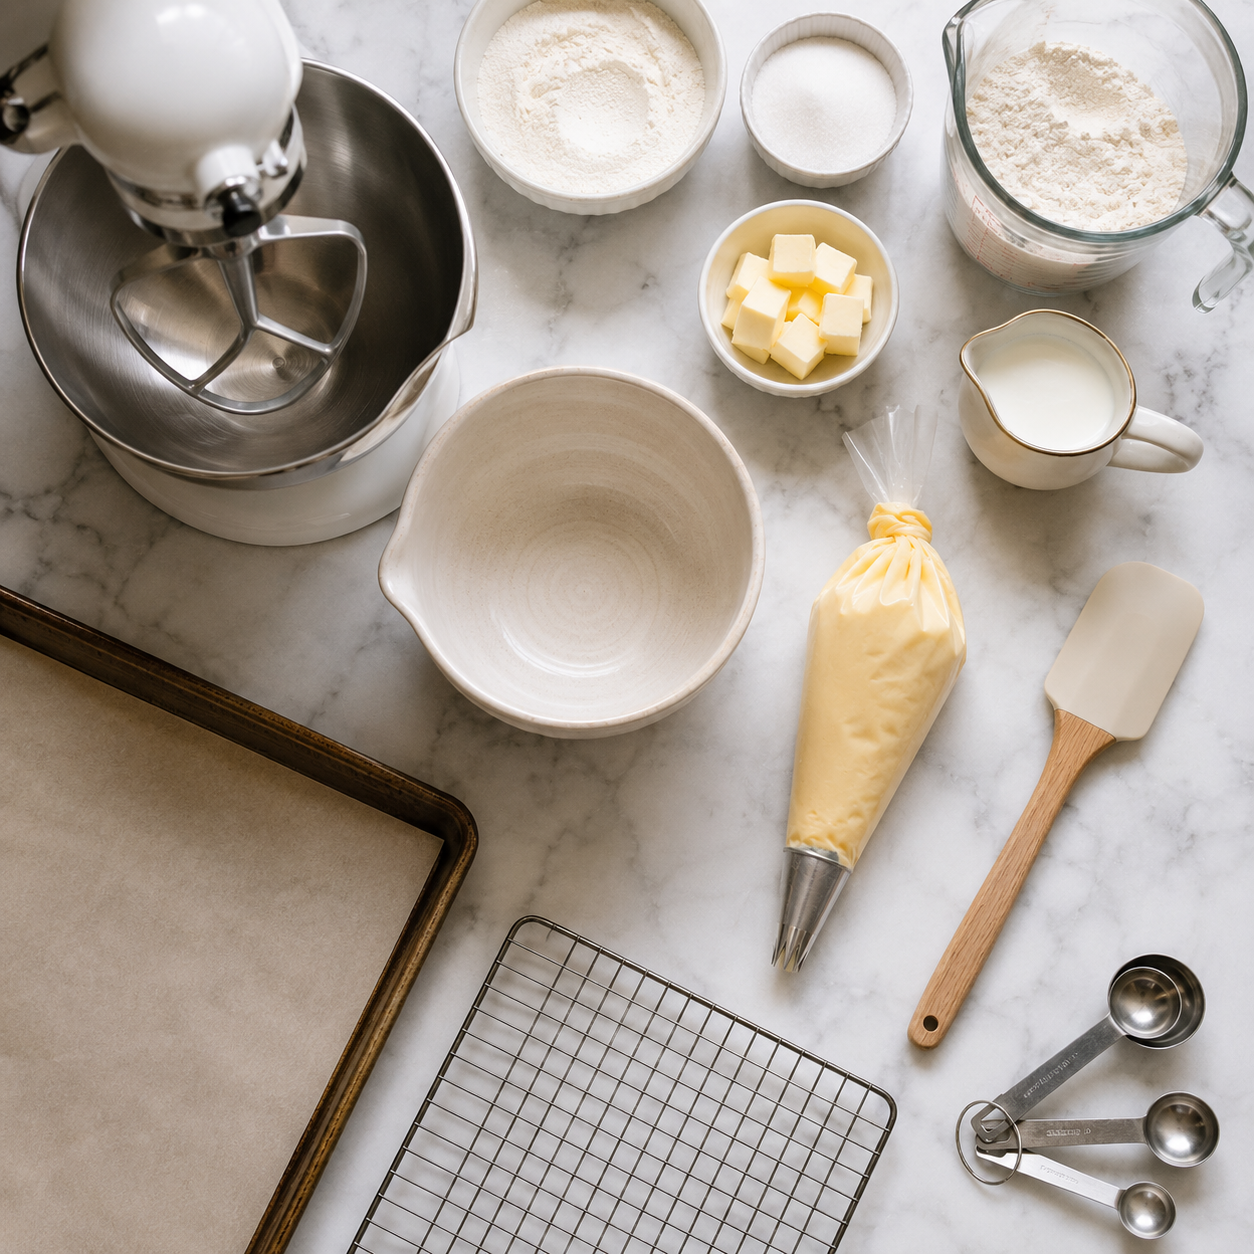
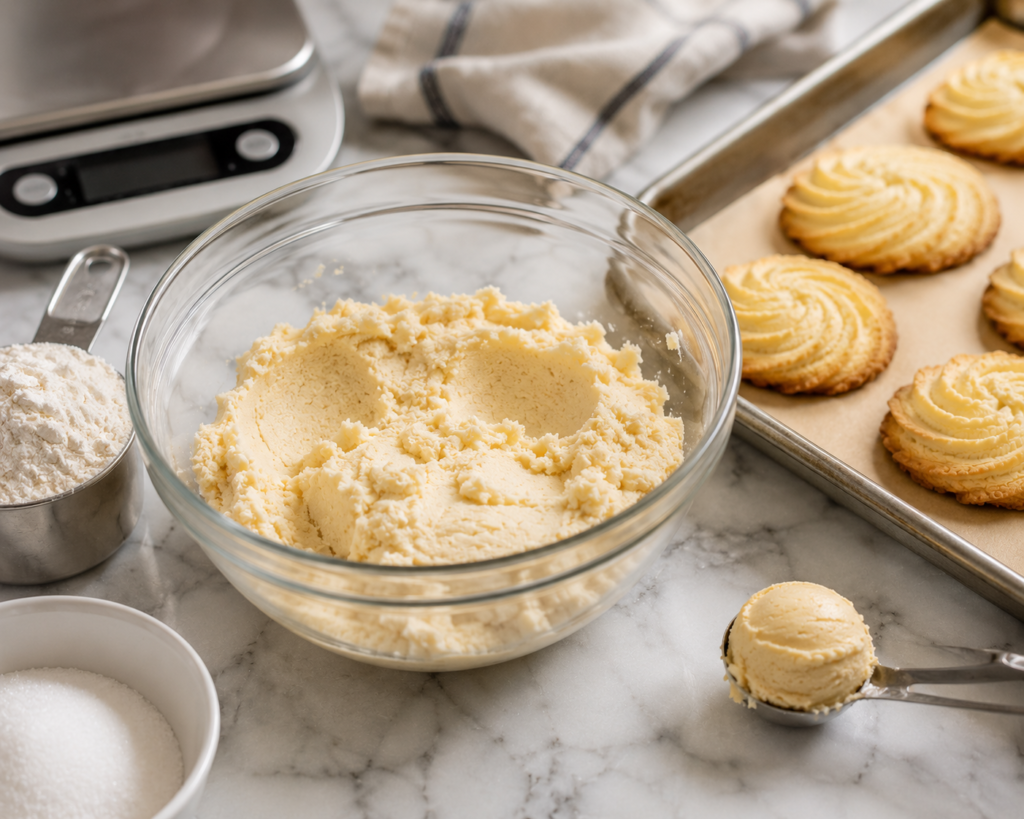
You don’t need a kitchen full of specialty gadgets to make excellent butter cookies, but using the right equipment can make the process smoother and help produce more consistent results. A few reliable baking tools ensure your dough mixes evenly, your cookies bake uniformly, and your finished batch looks just as good as it tastes.
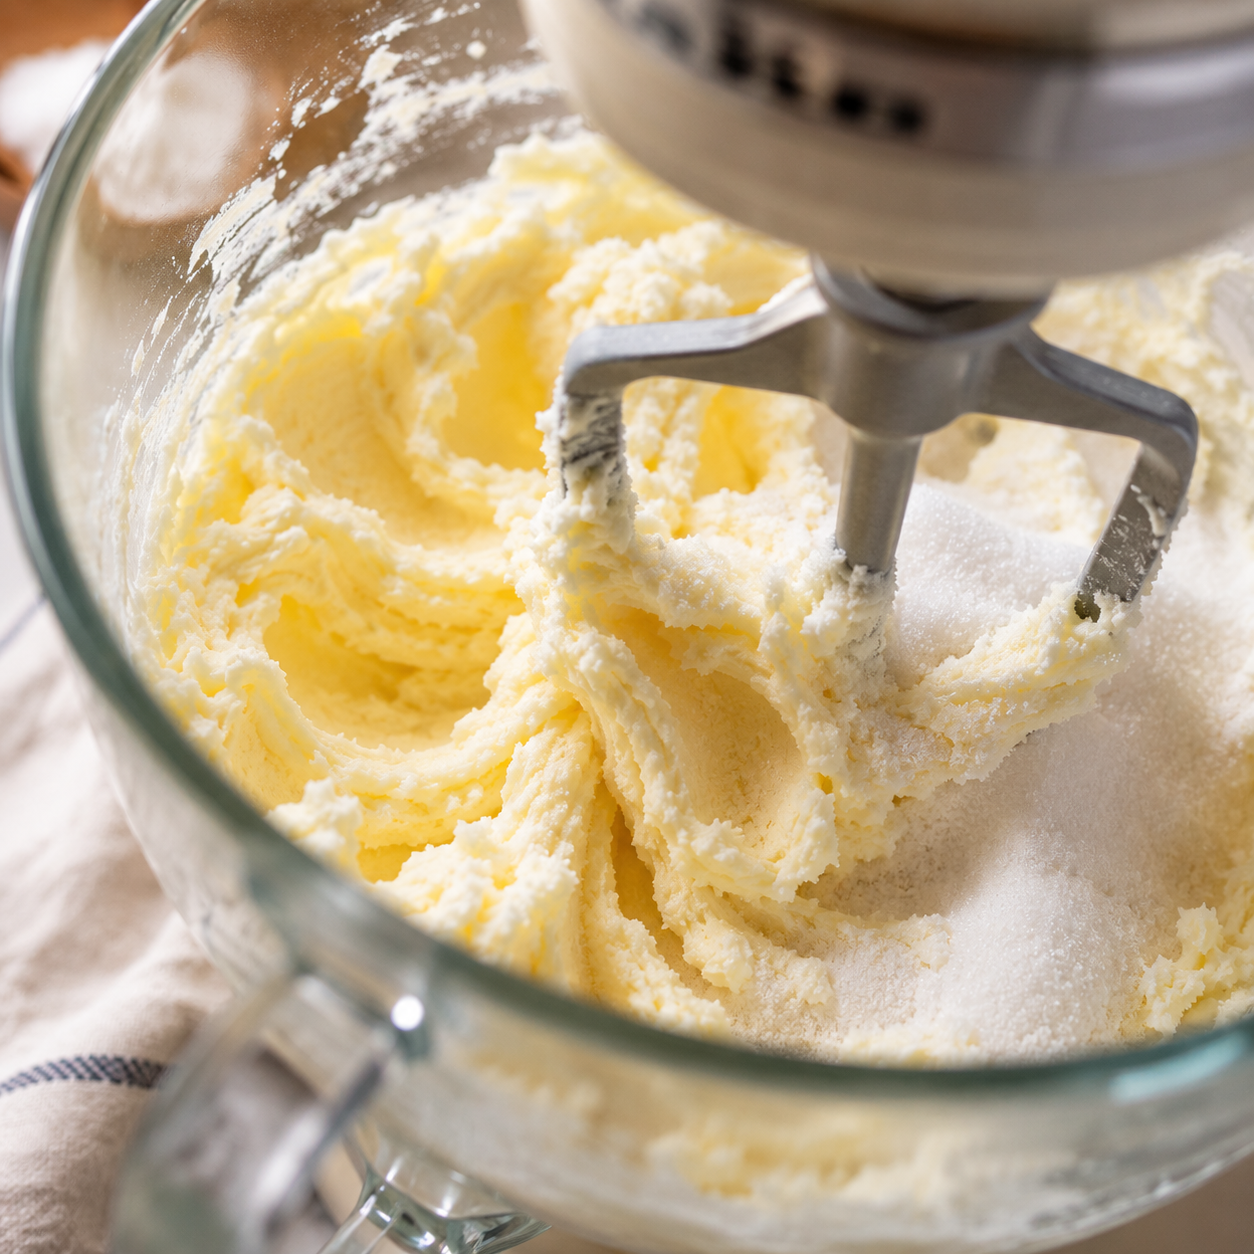
A stand mixer or hand mixer is one of the most valuable tools for this recipe. Properly creaming the butter and sugar incorporates tiny air pockets into the dough, creating cookies with a lighter, more delicate texture. While it’s possible to mix by hand, an electric mixer achieves better results with less effort.
A large mixing bowl gives you enough room to combine the ingredients without overworking the dough. Once the flour is added, gentle mixing is key to keeping the cookies tender rather than tough.
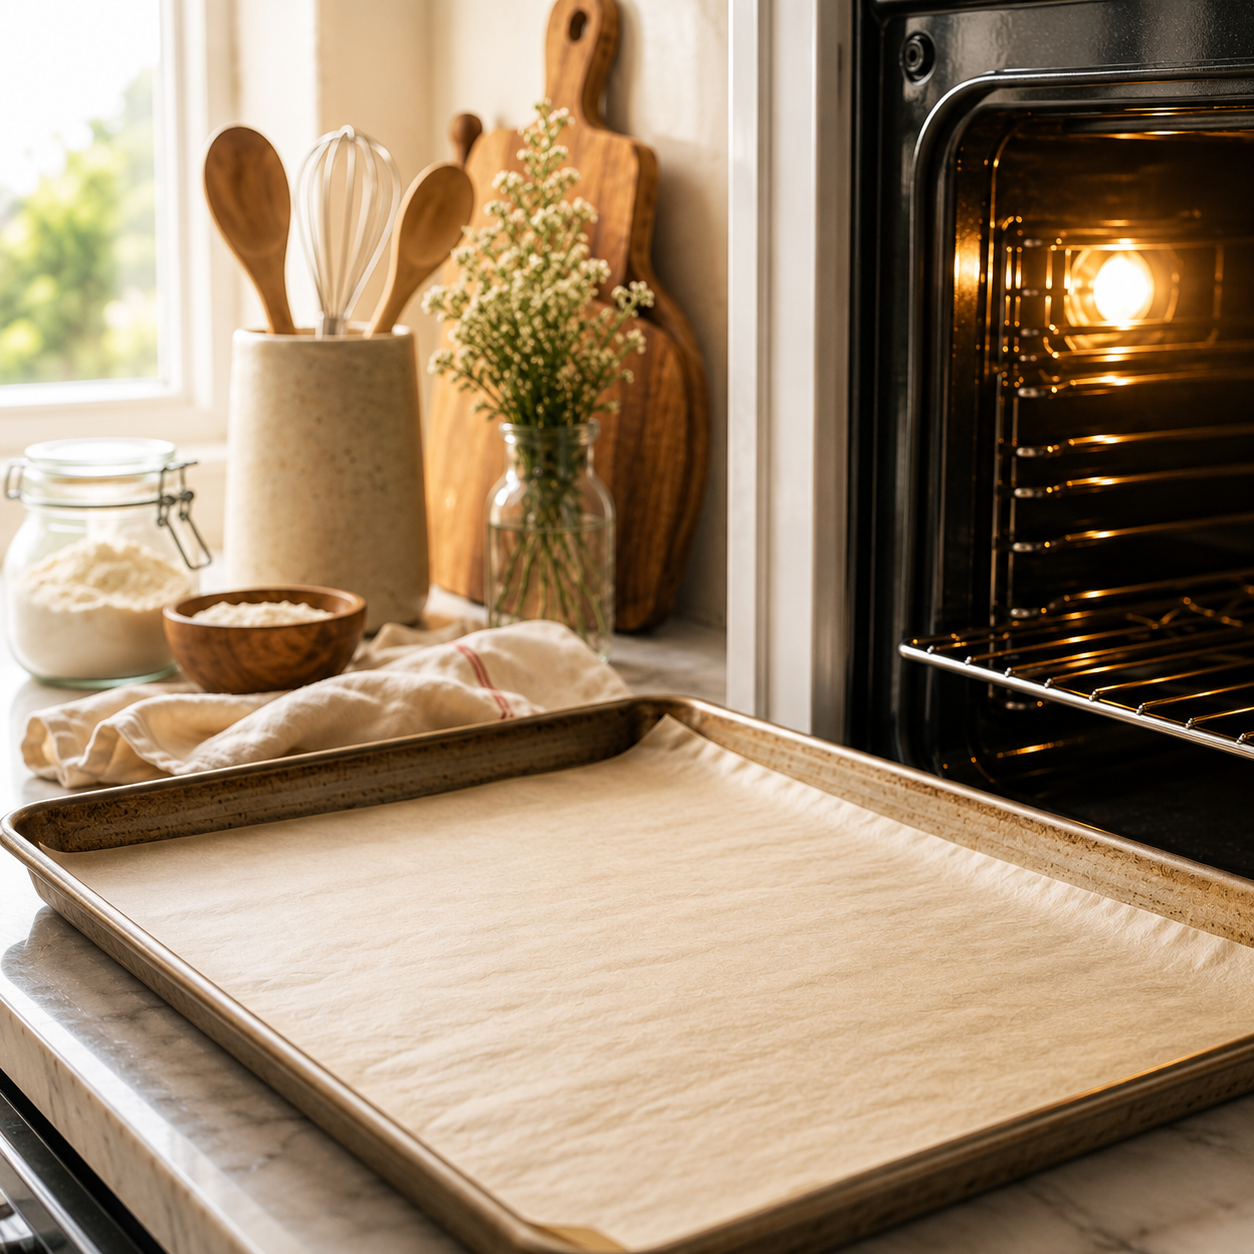
For baking, use light-colored metal baking sheets lined with parchment paper. Light-colored pans promote even browning, while parchment paper prevents sticking and encourages a more uniform bake. Dark baking sheets tend to absorb more heat, which can cause the bottoms to brown too quickly before the centers are fully baked.
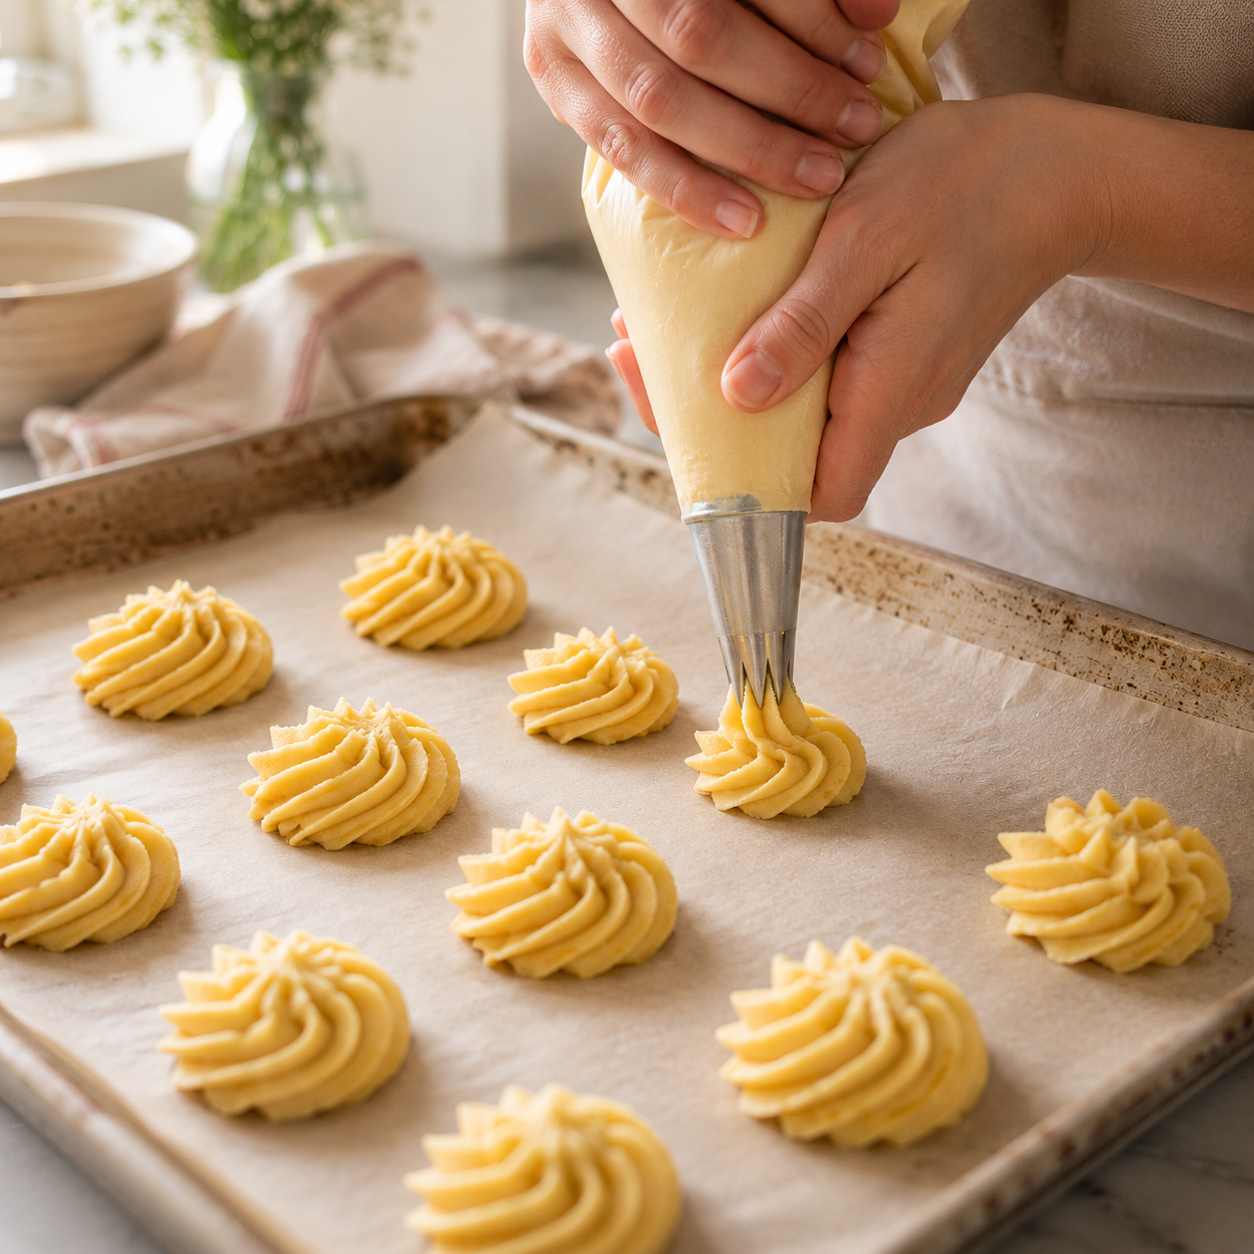
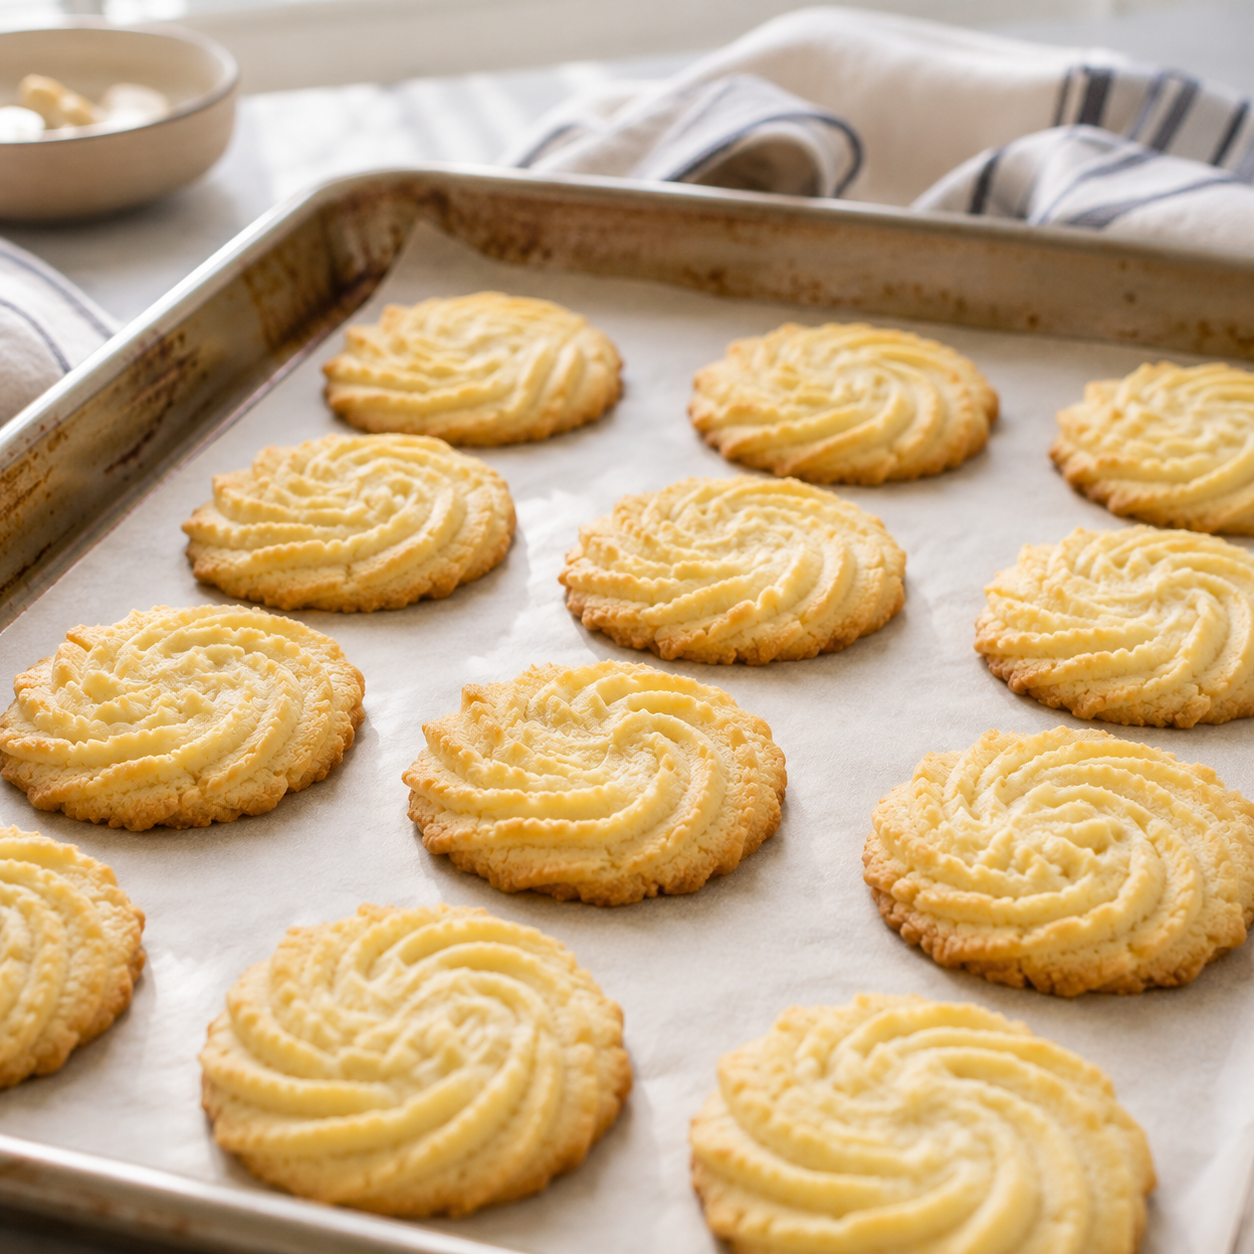
If you’re creating decorative butter cookies, a piping bag fitted with a large open star tip helps produce clean, defined swirls that hold their shape during baking. A cookie scoop is another excellent option if you prefer perfectly even round cookies.
Finally, let the cookies cool on a wire rack. Allowing air to circulate underneath prevents trapped steam from softening the bottoms, helping preserve the lightly crisp texture that makes butter cookies so enjoyable.
Why This Recipe Works
This butter cookie recipe works because each ingredient and technique is carefully balanced to produce cookies that are rich, tender, and sturdy enough to hold their shape without becoming dry or overly crisp.
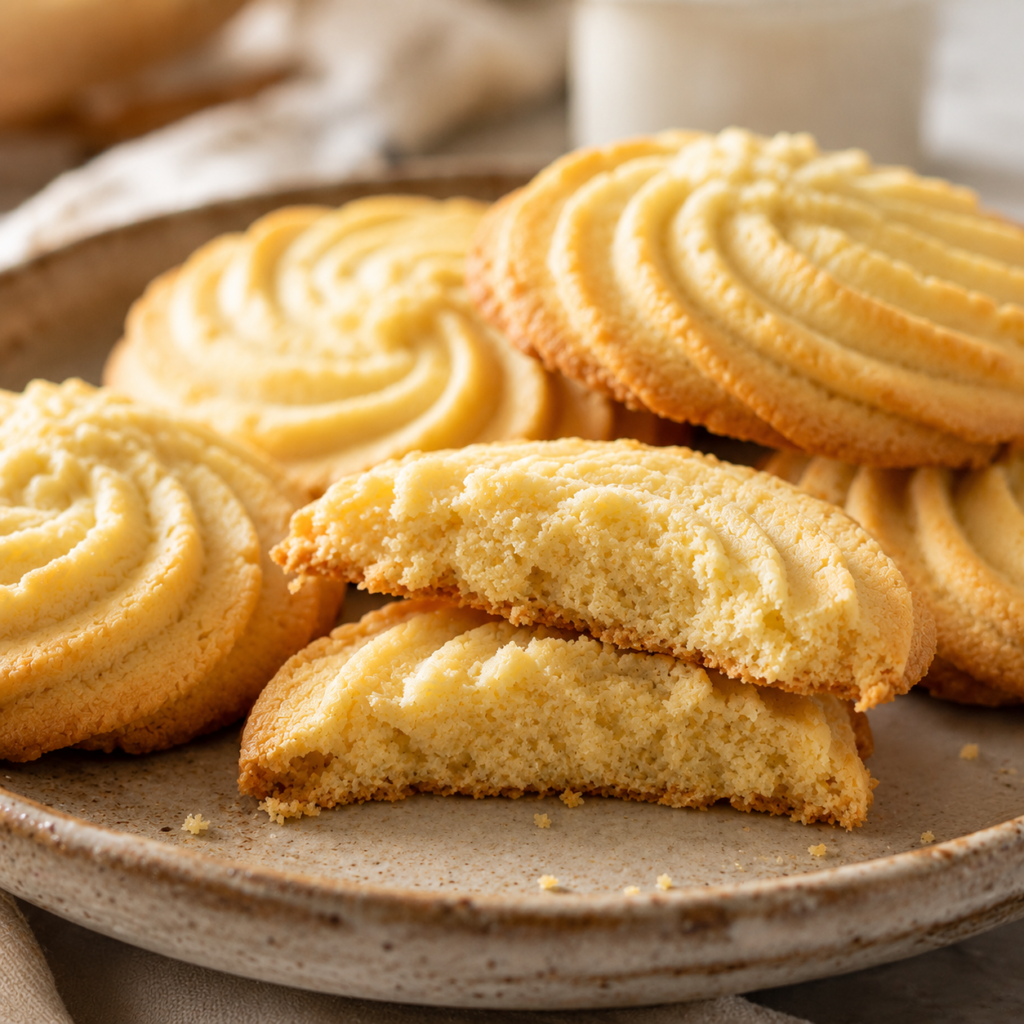
One of the biggest reasons these cookies turn out consistently well is the high butter-to-flour ratio. Butter is responsible for much more than flavor, it coats the flour particles, limiting gluten development and creating the delicate, melt-in-your-mouth texture that defines a classic butter cookie. Using enough flour to support the dough, while avoiding excess that would make the cookies dry, creates a balance between tenderness and structure.
Another important factor is properly creaming the butter and sugar. This step doesn’t simply combine the ingredients; it traps microscopic air bubbles inside the butter. As the cookies bake, those air pockets expand, helping create a lighter texture instead of a dense, compact crumb. Under-creaming often leads to heavier cookies, while over-creaming can incorporate too much air and encourage excessive spreading.
The recipe also uses just enough egg to bind the dough without making it cakey. Eggs provide moisture and structure, but too much can soften the dough and reduce the buttery texture people expect. By keeping the egg-to-butter ratio balanced, the cookies remain rich while still baking into neat, well-defined shapes.
A short chilling period is another small step that delivers a noticeable improvement. Cooling the dough firms the butter before it enters the oven, slowing the rate at which it melts. This helps decorative swirls stay sharp, reduces spreading, and produces cookies with thicker, more tender centers.
Finally, baking the cookies only until the edges turn lightly golden is the key to achieving the ideal texture. Butter cookies continue to cook from residual heat after they’re removed from the oven. Pulling them out at the right moment preserves a soft, delicate interior while allowing the edges to become lightly crisp as they cool.
When these techniques work together, the result is a butter cookie that’s flavorful, visually appealing, and reliable enough to make for holidays, celebrations, or everyday baking.
Common Mistakes to Avoid
Most butter cookie problems can be traced back to a handful of small mistakes. Knowing what to watch for before you start baking will help you achieve cookies with a rich buttery flavor, tender centers, and beautifully defined shapes every time.
Using Butter That’s Too Soft or Melted
Butter should be soft enough to leave a slight indentation when pressed with your finger, but it shouldn’t look shiny or oily. Overly soft or melted butter can’t hold the tiny air pockets created during creaming, causing the dough to become greasy and the cookies to spread excessively in the oven.
If your kitchen is especially warm, chilling the butter cookie dough for a little longer before shaping can make a noticeable difference.
Packing Too Much Flour into the Measuring Cup
Adding even a small amount of extra flour can change the texture of butter cookies. Too much flour creates dough that’s stiff, dry, and more likely to crack when piped.
For the most consistent results, weigh the flour with a kitchen scale. If you’re measuring by volume, fluff the flour first, spoon it gently into the measuring cup, and level it off with a straight edge instead of scooping directly from the bag. If you’re unfamiliar with this method, King Arthur Baking’s guide to measuring flour correctly offers an excellent visual explanation that can improve the consistency of your baking.
Overmixing After Adding the Flour
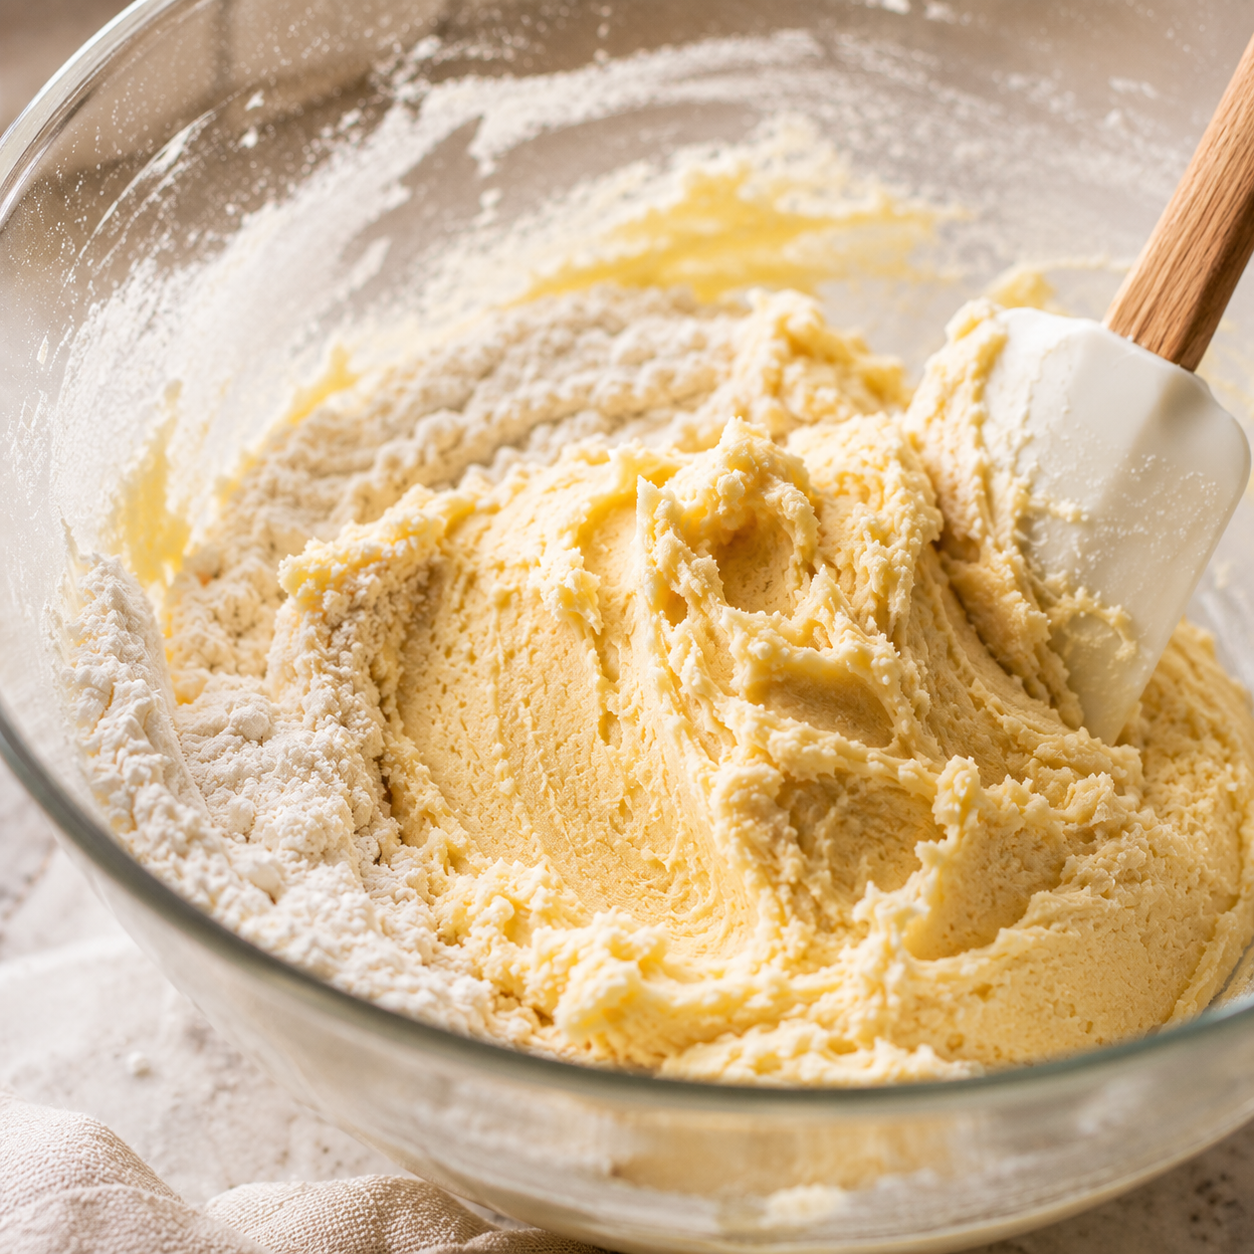
Once the flour is incorporated, the goal is simply to bring the dough together. Continued mixing develops gluten, which can make butter cookies firmer and less delicate.
Stop mixing as soon as you no longer see streaks of dry flour. The finished dough should look smooth and cohesive without becoming elastic.
Skipping the Chilling Step
It can be tempting to bake the dough immediately, especially when you’re short on time, but chilling is one of the easiest ways to improve the final result.
Firming the butter before baking helps decorative swirls stay sharp, reduces spreading, and encourages thicker cookies with a more even texture. Even a short chill of about 30 minutes can noticeably improve consistency.
Baking Until the Cookies Look Fully Done
One of the most common beginner mistakes is waiting for the entire cookie to turn golden brown.
Butter cookies continue baking from residual heat after they’re removed from the oven. Taking them out when only the edges are lightly golden helps preserve their tender interior while preventing them from becoming dry or overly crisp.
Troubleshooting
If your butter cookies don’t turn out exactly as expected, don’t worry. Most baking issues have straightforward causes, and once you know what to look for, they’re easy to fix in future batches.
My Butter Cookies Spread Too Much
Excessive spreading usually means the butter was too warm, the dough wasn’t chilled long enough, or the flour measurement was slightly low. Warm dough softens quickly in the oven before the structure has a chance to set.
If the dough feels sticky or difficult to handle, refrigerate it until it’s firm before baking. Using parchment-lined, cool baking sheets between batches also helps prevent unnecessary spreading.
My Dough Is Too Crumbly
A crumbly dough is often the result of slightly too much flour or butter that wasn’t fully incorporated during mixing.
Before adding extra liquid, continue mixing gently for another minute to allow the ingredients to come together. If the dough still seems dry, a teaspoon of milk at a time is usually enough to help it bind without changing the texture of the finished cookies.
My Piped Cookies Lost Their Shape
Decorative swirls depend on the dough being firm enough to support itself. If the butter becomes too warm while piping, the details can soften before the cookies even reach the oven.
For the sharpest designs, chill the filled piping bag or the shaped cookies for 10 to 15 minutes before baking.
My Cookies Turned Out Dry
Dry butter cookies are usually caused by overbaking or incorporating too much flour. Remember that the cookies continue to firm up as they cool, so it’s better to remove them from the oven slightly early than a minute too late.
Store cooled cookies in an airtight container to help retain their delicate texture.
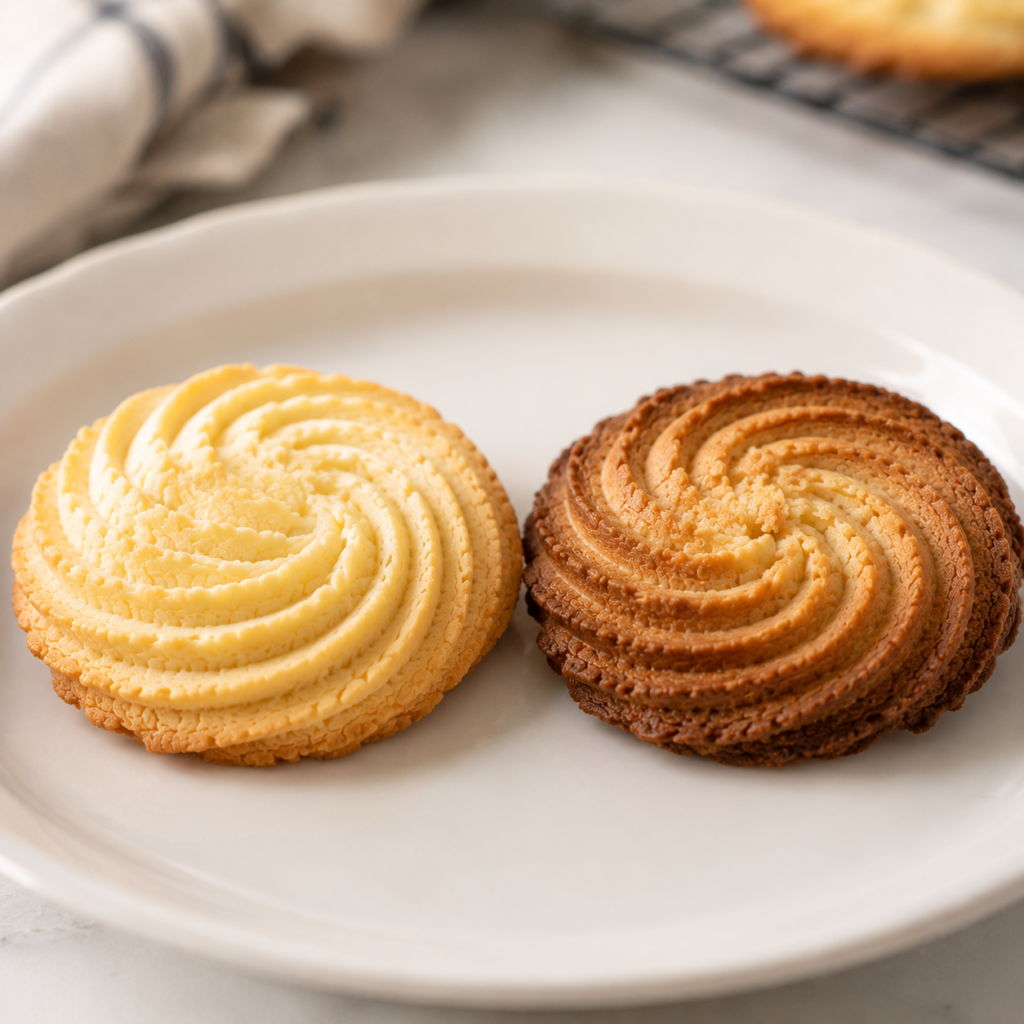
My Cookies Browned Too Quickly
If the bottoms or edges become dark before the centers are fully baked, your oven may be running hotter than the displayed temperature, or you may be using dark-colored baking sheets.
An inexpensive oven thermometer can help verify your oven’s accuracy, while switching to light-colored aluminum baking sheets often produces more even browning.
With these simple adjustments, even a less-than-perfect first batch can become consistently reliable. Baking is as much about learning how ingredients behave as it is about following a recipe, and small improvements often make the biggest difference over time.
Serving Suggestions
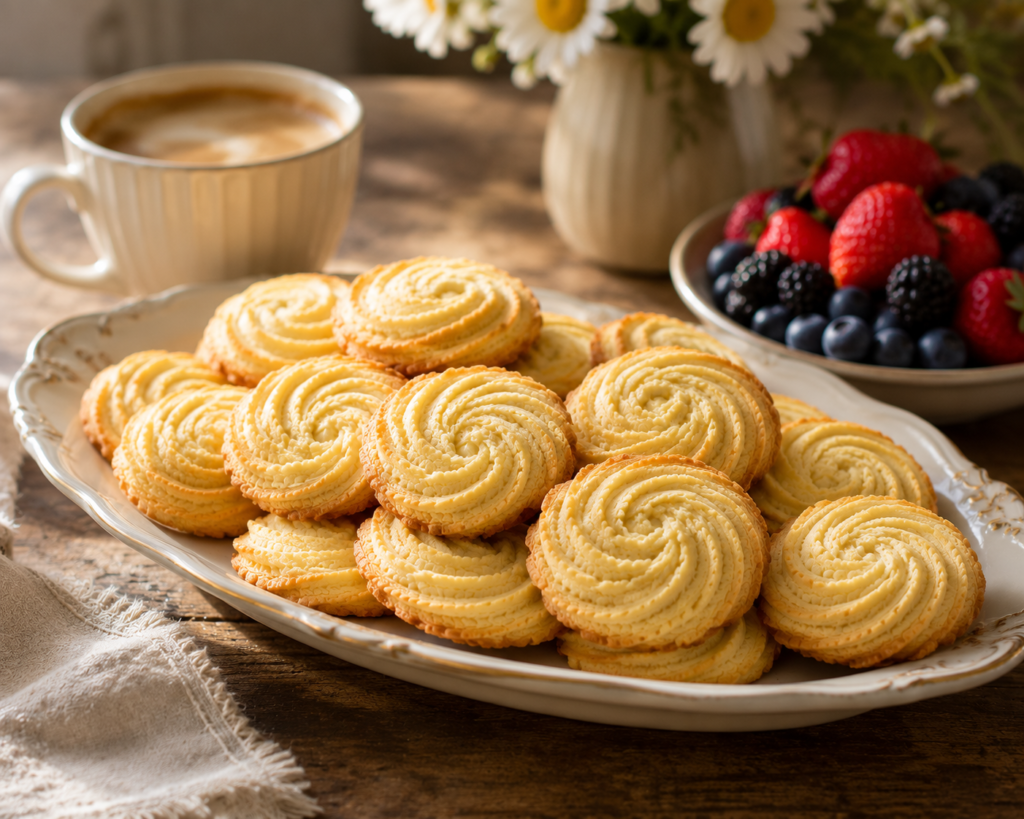
Butter cookies are wonderfully versatile, making them just as suitable for everyday treats as they are for holidays and celebrations. Their rich, buttery flavor pairs well with a wide variety of drinks, desserts, and seasonal accompaniments.
For a simple afternoon snack, enjoy these cookies with a hot cup of coffee, black tea, or hot chocolate. Their delicate sweetness complements warm beverages without overpowering them, making them an excellent choice for casual gatherings or quiet moments at home.
If you’re baking for the holidays, arrange the cookies on a festive platter alongside favorites like chocolate crinkle cookies, gingerbread cookies, or shortbread. Their classic appearance and buttery flavor make them a natural addition to cookie exchanges and homemade gift boxes.
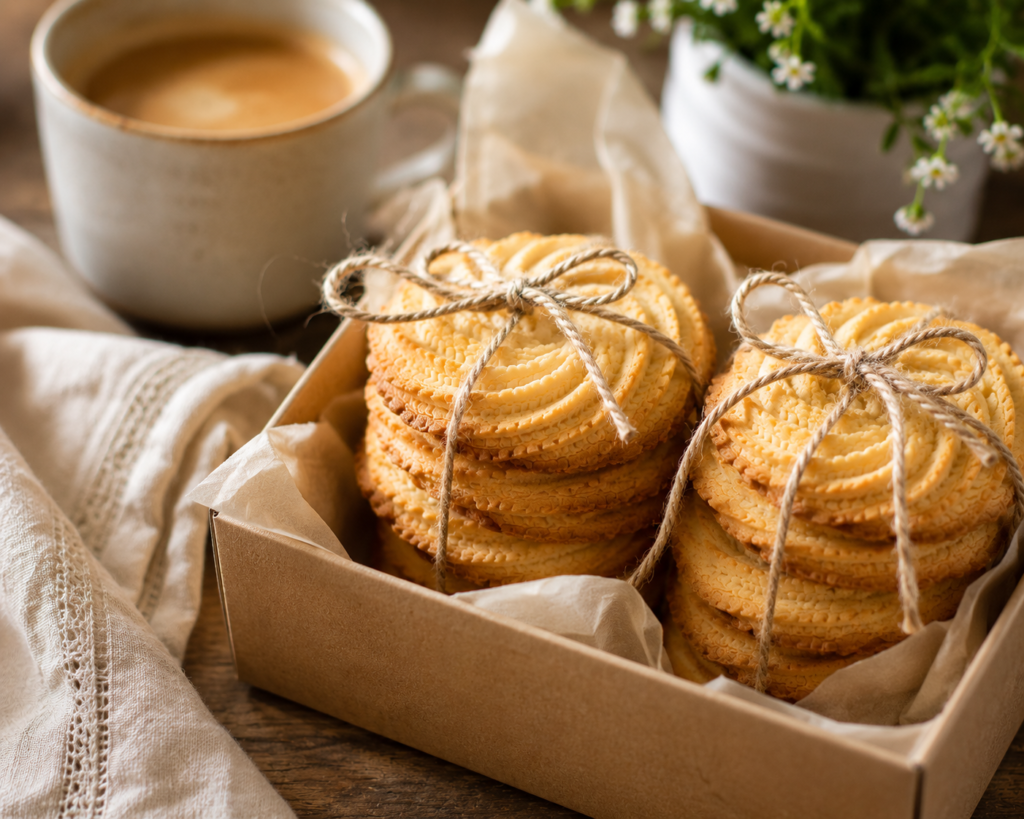
These cookies also provide an excellent base for simple decorations. Once cooled, drizzle them with melted dark or white chocolate, dip half of each cookie in chocolate, or finish them with colorful sprinkles or coarse sugar for extra texture and visual appeal. During the holidays, a light dusting of powdered sugar can give them an elegant, bakery-style finish.
Whether served plain or decorated, butter cookies are best enjoyed after they’ve cooled completely, allowing their texture and flavor to fully develop.
If you’re putting together a homemade cookie platter, these butter cookies pair beautifully with our Peanut Butter Chocolate Chip Cookies. The rich peanut butter flavor complements the delicate buttery texture, creating a simple but impressive assortment that’s perfect for holidays, cookie exchanges, or sharing with friends and family.
Storage, Freezing & Reheating
How to Store Butter Cookies
Proper storage helps preserve the buttery flavor and delicate texture that make these cookies so enjoyable.
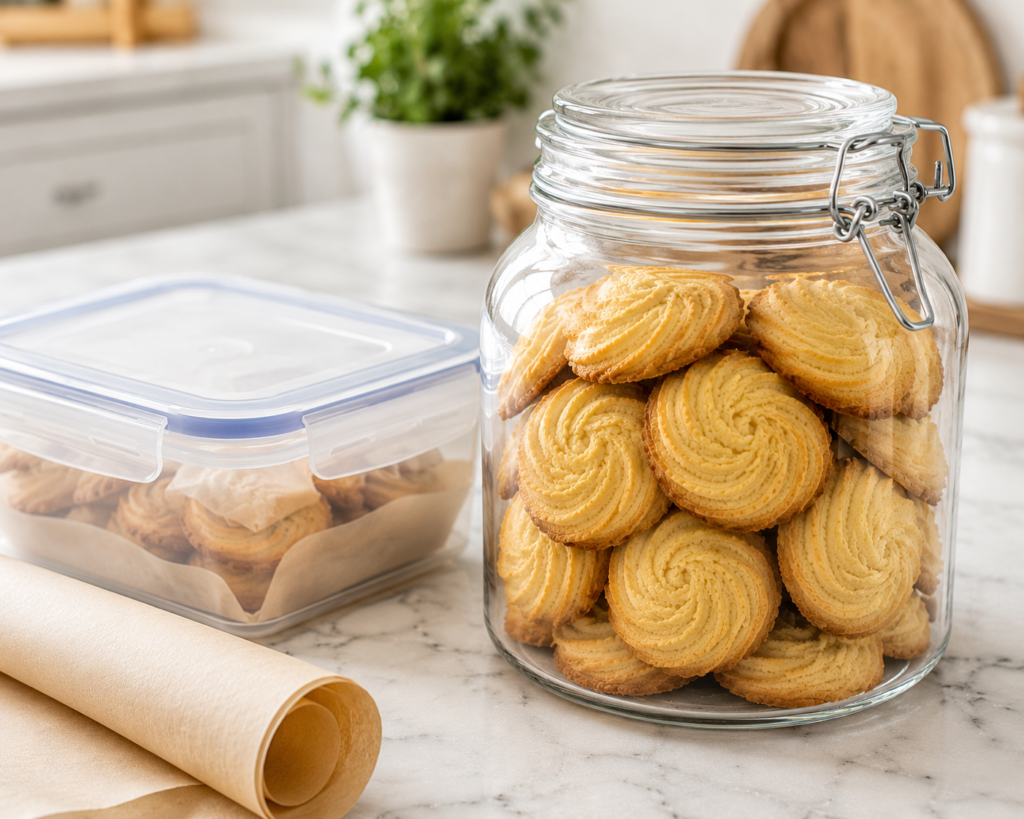
Once the cookies have cooled completely, transfer them to an airtight container and store them at room temperature for up to one week. Keeping moisture out of the container helps maintain their lightly crisp edges while preventing them from becoming stale.
If you’re stacking multiple layers, place a sheet of parchment paper between each layer to reduce the chance of the cookies sticking together or damaging decorative finishes.
Freezing Instructions
Butter cookies freeze exceptionally well, making them a great make-ahead option for busy weeks or holiday baking.
You can freeze either the unbaked dough or the fully baked cookies for up to three months.
For dough, shape or pipe the cookies onto a baking sheet and freeze until firm before transferring them to a freezer-safe container or bag. This prevents the cookies from sticking together and allows you to bake only the amount you need.
For baked cookies, allow them to cool completely before wrapping them well to protect their texture and flavor during storage.
Reheating & Refreshing
Although butter cookies are traditionally enjoyed at room temperature, you can easily refresh cookies that have been stored for several days.
Place them in a 300°F (150°C) oven for 3 to 5 minutes, then let them cool for a few minutes before serving. This gentle warming helps restore their crisp edges while bringing back some of the fresh-baked aroma.
If frozen, allow the cookies to thaw at room temperature before serving. Avoid microwaving whenever possible, as it can soften the cookies and diminish their delicate texture.
More Recipes You’ll Love
If you enjoyed this butter cookie recipe, here are more homemade cookies to try next:
Conclusion
A dependable butter cookie recipe is one that you’ll come back to year after year, and this version is designed to do exactly that. With a handful of pantry staples, a few simple techniques, and a little attention to detail, you can create cookies that are rich, tender, and beautifully buttery every time.
Whether you’re baking for the holidays, filling a cookie tin to share with friends, or simply treating yourself to a homemade dessert, these cookies offer the perfect balance of elegance and simplicity. They’re easy enough for beginners to master while delivering the classic flavor and texture that experienced bakers appreciate.
As you become more comfortable with the recipe, don’t hesitate to make it your own. Decorate the cookies with chocolate, add a touch of almond extract, or create seasonal variations for different occasions. Small changes can produce entirely new favorites while preserving the buttery foundation that makes this recipe so reliable.
Looking for another classic homemade cookie to bake next? Our Peanut Butter Chocolate Chip Cookies are another easy, family-friendly recipe made with everyday ingredients and are perfect for expanding your homemade cookie collection.
If you enjoyed this recipe, be sure to save it for later and keep it in your baking collection. It’s the kind of classic homemade recipe that’s always worth having on hand whenever the craving for buttery, melt-in-your-mouth cookies strikes.
✅ Before You Bake: For the best results, use room-temperature ingredients, measure your flour carefully, and don’t skip chilling the dough. These simple steps will help you create perfectly shaped butter cookies with a rich buttery flavor and a melt-in-your-mouth texture every time.
Butter Cookie Recipe
Description
These homemade butter cookies are rich, buttery, and wonderfully tender with lightly crisp edges. Made with everyday ingredients, this beginner-friendly recipe creates cookies that are perfect for holidays, afternoon tea, cookie boxes, or anytime you crave a classic homemade treat. The dough can be piped, scooped, or shaped, making it as versatile as it is delicious.
Ingredients
Instructions
-
Prepare the Oven
Preheat the oven to 350°F (175°C) and line two baking sheets with parchment paper.
-
Cream Butter and Sugar
Beat the softened butter and sugar until the mixture becomes pale, light, and fluffy, about 3–4 minutes.
-
Add Egg and Vanilla
Mix in the egg until fully incorporated, then add the vanilla extract and beat until smooth.
-
Add Dry Ingredients
Gradually mix in the flour and salt until a soft dough forms. Stop mixing as soon as no dry flour remains.
-
Chill the Dough
Cover and refrigerate the dough for about 30 minutes until firm enough to pipe or scoop easily.
-
Shape the Cookies
Pipe decorative swirls using a large star tip or scoop rounded portions onto the prepared baking sheets, leaving about 2 inches between cookies.
-
Decorate (Optional)
Top with coarse sugar or sprinkles before baking if desired.
-
Bake for 10–12 minutes, or until the edges are lightly golden while the centers remain pale.
Bake for 10–12 minutes, or until the edges are lightly golden while the centers remain pale.
-
Cool
Allow the cookies to cool on the baking sheet for 5 minutes before transferring to a wire rack to cool completely.

Nutrition Facts
Servings 24
- Amount Per Serving
- Calories 145kcal
- % Daily Value *
- Total Fat 8g13%
- Saturated Fat 5g25%
- Cholesterol 28mg10%
- Sodium 35mg2%
- Total Carbohydrate 16g6%
- Sugars 6g
- Protein 2g4%
* Percent Daily Values are based on a 2,000 calorie diet. Your daily value may be higher or lower depending on your calorie needs.
Note
- Store only after completely cooled to preserve their crisp edges.
- Use room-temperature butter, not melted butter.
- Weigh the flour for the most consistent results.
- Do not overmix once the flour has been added.
- Chill the dough if it feels too soft to pipe.
- Remove the cookies while the centers still look pale—they will continue setting as they cool.
- For extra flavor, add ¼ teaspoon almond extract alongside the vanilla.
- Dip cooled cookies in melted chocolate for an elegant finish.